 how-to
DIY Enzymatic Stain Remover for Laundry: 2026 Guide
Table of Contents
- What Is a DIY Enzymatic Stain Remover for Laundry?
- What You'll Need: Ingredients and Ratios
- Step-by-Step: How to Make the Fermented Cleaner
- Fermentation Time and Storage
- How to Remove Protein Stains from Clothes
- How Long to Leave Enzyme Cleaner on Fabric
- Laundry Stain Pretreatment and Machine Use
- Conclusion
- Frequently Asked Questions
Last Updated: October 13, 2026
What Is a DIY Enzymatic Stain Remover for Laundry?
A DIY enzymatic stain remover for laundry is a fermented cleaning liquid made from fruit scraps, brown sugar, and water.
This guide shows you how to make the ferment at home, how long to let it work, and when to hand the job to a pro.
Most store-bought stain sprays rely on the same idea. They use enzymes to eat away at organic residue instead of just bleaching it.
One thing before you start: this is a helper, not a replacement for detergent. Enzymes target stains. Detergent lifts the loosened dirt out of the fabric. You need both.
What You'll Need: Ingredients and Ratios
The recipe needs just three things, and the ratio is easy to remember. You use one part brown sugar, three parts fruit scraps, and ten parts plain water.
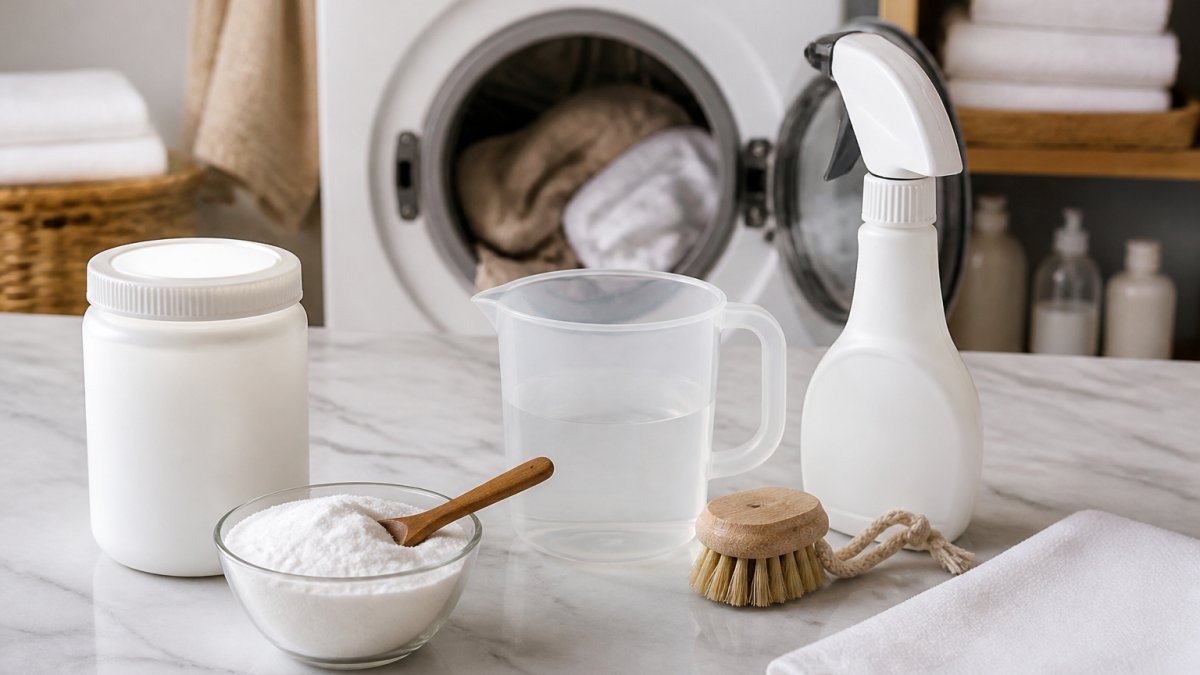
Gather these:
- Brown sugar (1 part) - feeds the fermentation
- Fruit and vegetable scraps (3 parts) - citrus peel, pineapple skin, apple cores
- Plain water (10 parts) - non-chlorinated works best
- A large airtight jar or bottle - glass or food-grade plastic
- A small amount of dishwashing liquid - added at use time, not during fermentation
Citrus peel is the favorite because it carries natural acids. Pineapple and papaya scraps bring their own enzymes to the mix. Avoid anything moldy or cooked, since heat kills the microbes you want.
The 1:3:10 Ratio Explained
The 1:3:10 ratio is the standard recipe for a bio-enzyme cleaner. It balances food for the microbes, material to ferment, and liquid to keep it all moving.
A simple batch looks like this:
- 1 cup brown sugar
- 3 cups fruit and vegetable scraps
- 10 cups plain water
Scale it up or down as long as you keep the same three numbers. Too much sugar and the mix turns to alcohol. Too little and fermentation stalls. The ratio is the one part you should not guess at.
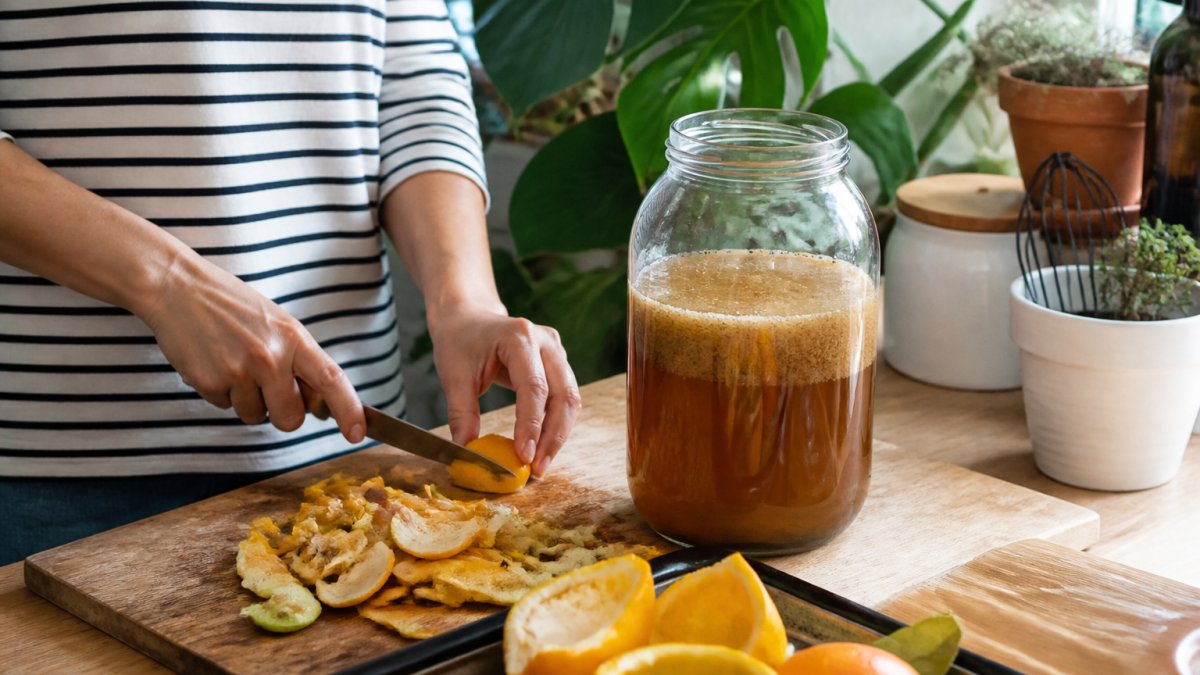
Step-by-Step: How to Make the Fermented Cleaner
Making the cleaner takes about 15 minutes of hands-on work, then weeks of waiting. Here is the full process.
- Chop your scraps into small pieces so more surface area touches the water.
- Add the brown sugar to your jar first.
- Pour in the water and stir until the sugar dissolves.
- Add the fruit and vegetable scraps. Push them down under the liquid.
- Seal the jar and label it with the date.
- Open the lid daily for the first two weeks to release gas. Fermentation builds pressure.
- Stir gently to keep the scraps submerged.
- Strain out the solids once fermentation is done. Keep the liquid.
The liquid you keep is your enzyme concentrate. The leftover solids can go into compost.
Fermentation Time and Storage
Fermentation takes about three months for a full-strength batch. You can use it sooner, but the enzyme activity is weaker, and the results are less predictable.
A realistic timeline:
- Weeks 1-2: Strong bubbling. The mix smells sweet and tangy. This is the active gas phase.
- Month 1: Bubbling slows but continues. The liquid darkens and starts to clear.
- Month 2: Bubbling is minimal. The liquid clears further and the smell turns sharply sour.
- Month 3: The ferment settles. It is ready to strain and use.
Readiness Checks
Before you strain, run three checks:
- Clarity: The liquid is clear or lightly cloudy, not thick or slimy.
- Smell: Sour and pleasant, like vinegar or citrus. A rotten, sewage, or acetone smell means the batch went wrong.
- Activity: Little to no bubbling when you stir. A still-active batch is still fermenting.
If it smells rotten or grows fuzzy mold on top, toss the batch. That is not a ferment anymore. A thin white film on the surface is usually kahm yeast, which is harmless; skim it off and continue. Fuzzy green, black, or blue mold is not safe, and you should discard the whole jar.
Pressure Management
Fermentation builds carbon dioxide. Seal a jar completely and skip the daily burp, and pressure can crack the glass or pop the lid. Open it once a day for the first two weeks, every time. After that, burp it every few days. Use a jar with a lid you can loosen easily, and never seal a batch in a tight glass bottle during the active phase.
Storage
Store your finished enzyme concentrate in a sealed bottle away from direct sunlight. A dark cabinet works well. It keeps for months. Dilute only what you plan to use, since diluted cleaner spoils faster than concentrate. Label the bottle with the strain date so you can track how long it has been sitting.
Miami Heat and Humidity
South Florida heat and humidity speed up fermentation, so a batch here may finish faster than in a cooler climate. Keep the jar out of direct sun and out of a hot garage. High humidity also raises the odds of surface mold, so keep scraps fully submerged and check the jar more often than the timeline suggests. Treat the three-month mark as a guide, not a deadline, and let the readiness checks decide when the batch is done.
How to Remove Protein Stains from Clothes
Protein stains need cool water and patience. Heat sets them, so never reach for hot water first.
Protein stains include sweat, blood, milk, egg, and grass. These respond well to enzymes because the enzymes break the protein bonds that lock the stain into the fabric.
The method:
- Blot the fresh stain with a cool, damp cloth. Do not rub.
- Rinse the area with cool water from the back of the fabric.
- Apply your enzyme cleaner directly to the stain.
- Let it sit (more on timing below).
- Wash as normal with your regular detergent.
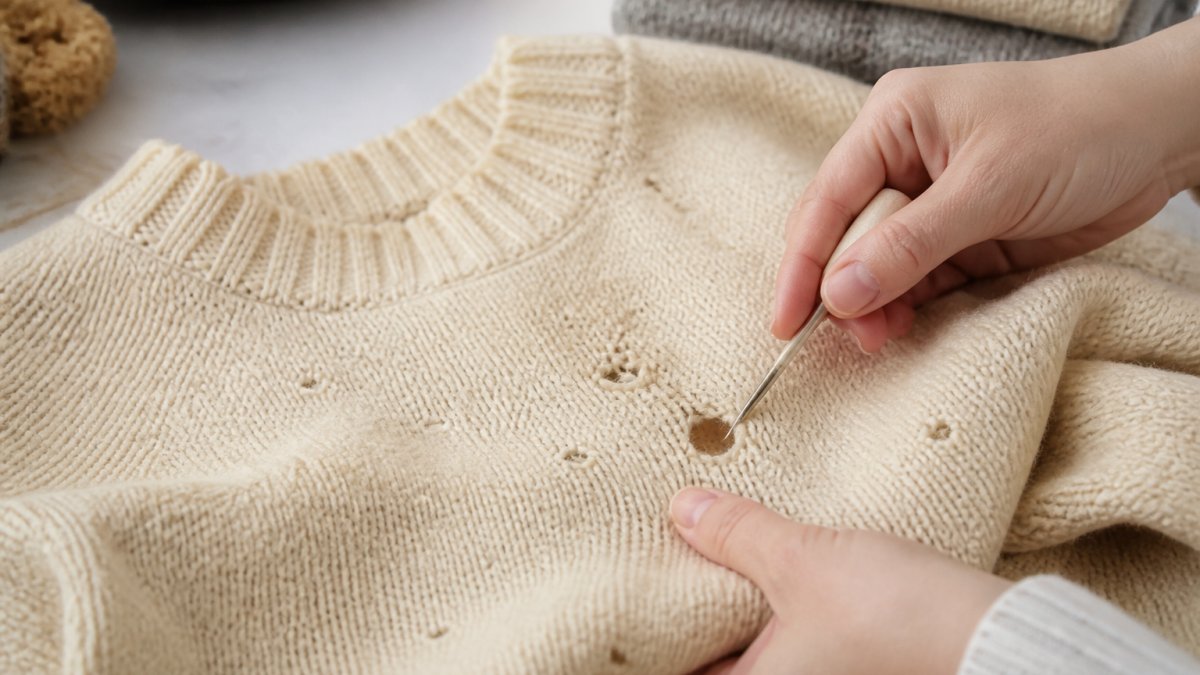
For sweat stains on collars and underarms, mix a little dishwashing liquid with the enzyme cleaner. The soap cuts through body oils while the enzymes work on the protein.
How Long to Leave Enzyme Cleaner on Fabric
Leave enzyme cleaner on fabric for 15 to 30 minutes for fresh stains. For dried or set-in stains, let it work for several hours or overnight.
Timing matters because enzymes need contact time to break the stain down. Too short and the stain stays. Too long on a delicate fabric and you risk damage.
A quick guide:
- Fresh stains: 15-30 minutes
- Dried stains: 1-2 hours
- Set-in stains: overnight, up to 8 hours
- Delicate items: 10-15 minutes, then check
Always do a spot test first. Apply a drop to a hidden area, wait 10 minutes, and check for color change. This matters most on silk, wool, and anything dyed a deep color.
For more on how stain chemistry works on different fabrics, the American Cleaning Institute's stain guide is a solid reference.
Laundry Stain Pretreatment and Machine Use
Enzyme cleaner works as a pretreatment, not a full detergent. Pretreat the stain, then run your normal wash cycle.
Here is how to use it in the machine:
- Apply the cleaner to the stain before washing
- Let it sit for the timing above
- Add your regular detergent to the wash
- Use a cool or warm cycle, never hot
- Check the stain before drying
Dilution and Dosage
Use the concentrate straight on stains. For a general laundry boost, dilute 1 part concentrate to 10 parts water and add it to the wash water, not the detergent dispenser. Do not pour concentrate directly into a front-loading dispenser; it can clog the drawer. For top-loaders, add diluted cleaner to the drum before the clothes.
Fabric Safety and Colorfastness
Always spot test first. Apply a drop to a hidden area, wait 10 minutes, and check for color change or fiber damage. This matters most on silk, wool, and anything dyed a deep color. Wool and silk are protein fibers, and enzymes that break down protein stains can also weaken those fibers over time. Skip the ferment on those fabrics and use a formulated detergent instead.
Washer Compatibility
Homemade ferments can leave residue in washing machines. Use them as a pretreatment and rinse the garment before the main wash when possible. Do not use a ferment in a high-efficiency (HE) washer as a detergent substitute; HE machines need low-sudsing, formulated detergent. If you use it in the machine, keep it diluted and avoid overloading.
Temperature and Drying
Heat from a dryer sets any stain that is left. Always check the garment first. If the stain is still there, repeat the pretreatment before drying. Wash in cool or warm water, never hot, because heat both sets protein stains and can deactivate enzymes.
A practical summary:
| Stain Type | Pretreat Time | Water Temp | Enzyme Works? |
|---|---|---|---|
| Sweat | 30 min | Cool | Yes |
| Blood | 15-30 min | Cool | Yes |
| Grass | 1 hour | Cool | Yes |
| Grease | 1-2 hours | Warm | Partly |
| Ink | Not effective | - | No |
| Rust | Not effective | - | No |
Enzymes handle protein and food stains well. They struggle with ink, rust, and dye-based stains. Those need different treatments.
Hygiene and Storage
A homemade ferment is not sterile. Keep the bottle sealed, store it out of sunlight, and do not use a batch that smells rotten or shows fuzzy mold. Do not mix the ferment with bleach or other strong chemicals; the reaction can release irritating fumes.
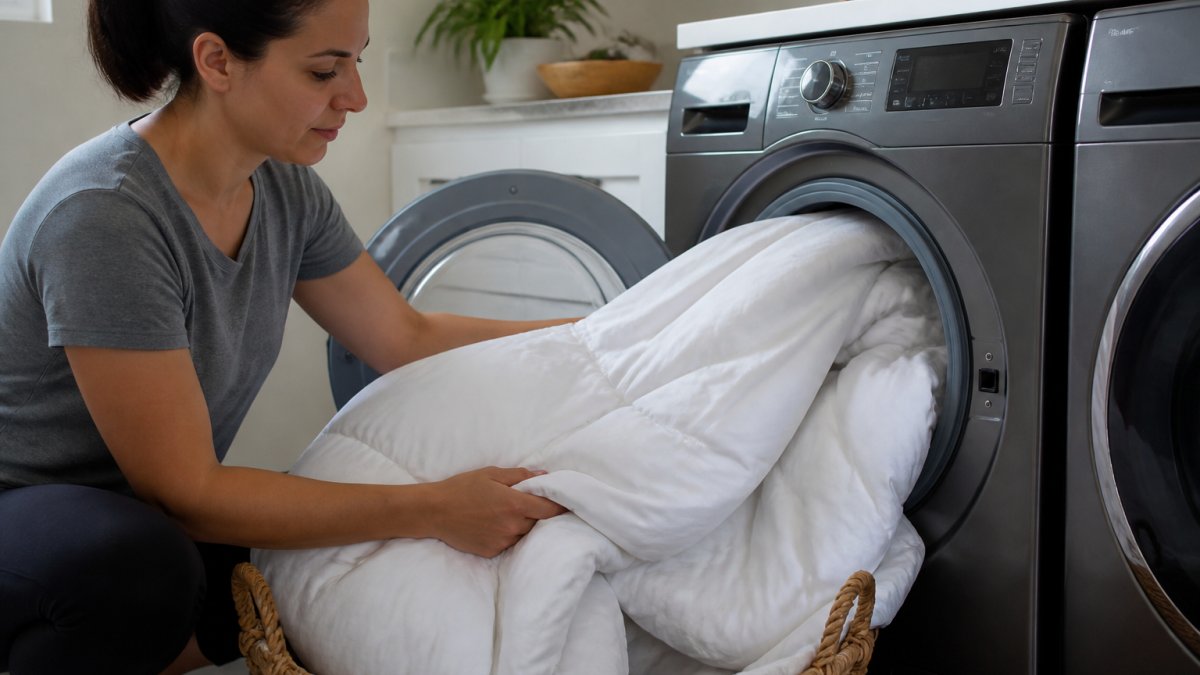
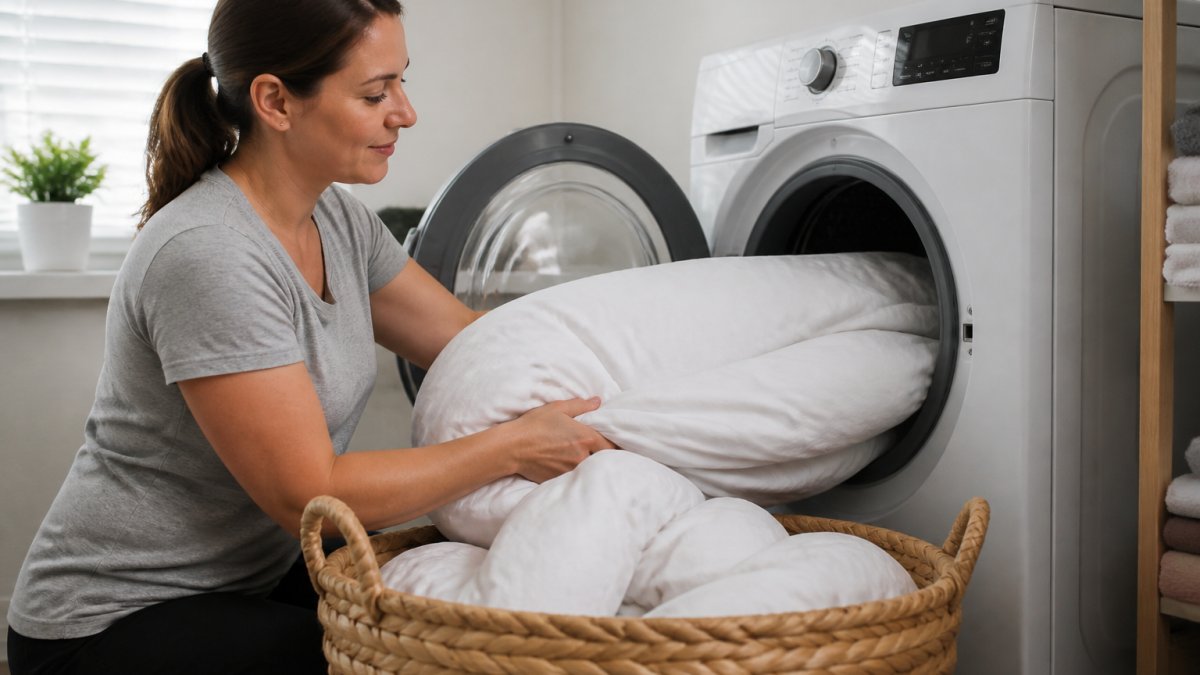
For bulky items like comforters and bed sheets, a home ferment is often not enough. You can check guidance on caring for fabrics from the textile industry for the finer points of fabric care.
For a professional take on stain removal standards, the U.S. Environmental Protection Agency's safer cleaning information is worth a read.
Conclusion
Getting a DIY enzymatic stain remover right takes time, and not every stain will budge with a home mix. Protein and food stains respond well. Ink, rust, and set-in grease usually need more than a jar of fermented fruit can give.
That is where we come in. LaundrPro offers flat-rate pricing with no hidden fees and no subscriptions. We handle door-to-door pickup and delivery, and we give delicate items and bulky pieces the care they need. Busy families and professionals across Miami can hand off the tough loads and get them back spotless.
Get started with LaundrPro and reclaim your time while we handle the stains.
Frequently Asked Questions
How do you make a DIY enzymatic stain remover for laundry?
Mix one part brown sugar, three parts chopped fruit or vegetable scraps, and ten parts plain water in a clean plastic bottle. Seal it loosely to let gas escape, then let it ferment for three months in a dark spot. Strain the liquid into a spray bottle and dilute one part concentrate with ten parts water before applying to stains.
How long should an enzyme stain remover sit on clothes?
For fresh stains, let the diluted enzymatic stain remover sit for 15 to 30 minutes before washing. For dried or set-in stains, soak the garment for one to two hours, checking every 30 minutes. Never let the solution dry on the fabric, as this can leave a residue or weaken fibers over time.
Which laundry stains respond best to enzymes?
Enzymes work best on organic, protein-based stains like sweat, blood, grass, food, and body oils. They break down these residues effectively during laundry stain pretreatment. However, they are less effective on synthetic dyes, ink, rust, or grease that lacks a protein component. For tough non-organic stains, a commercial stain remover or professional cleaning may be needed.
Can you use homemade enzyme cleaner on colored clothes?
Yes, but always do a spot test on a hidden area first. The fermented liquid is acidic and may affect some dyes, especially on delicate items like silk or wool. For colored garments, use a diluted solution and rinse thoroughly after soaking. If color bleeds, switch to a commercial enzyme detergent formulated for colors.